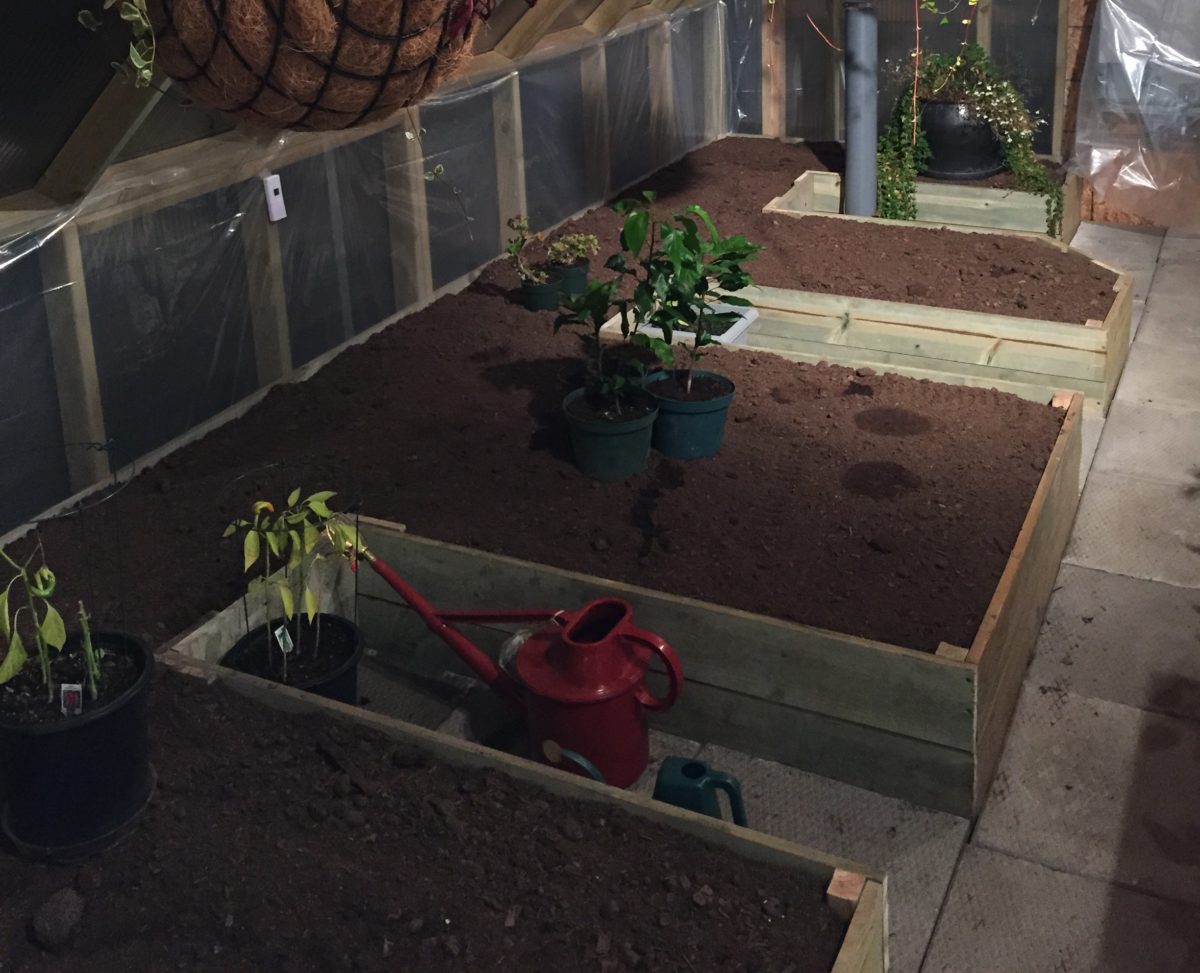
Once the main structure was done, I needed space to grow things. Although many greenhouses grow everything in pots and flats on top of raised tables, my intention is to use raised beds that can directly benefit from the heatsink below, and also give plenty of uninhibited root space to things like broccoli. I’m hoping it will also give me a much larger planting space, and make the greenhouse tending easier overall.
The design considerations were not huge for the raised beds, but if you are building some in your greenhouse there are a few things to think about. I’ll discuss what I did and why, and hopefully touch on things that you may want to include in your planning process.
Design Considerations:
In the end, the beds are there to grow plants, so first I needed to ensure the plants would have their basic needs met.
Soil and water are a given. However, the light from the windows does not go to every corner as it does in a fully windowed summer greenhouse. And since I’m not using any supplemental growlights, the beds need to stop where the majority of the sunlight does, or I’m just wasting space and seeds. With winter and summer sun angles being different, I thought of the furthest sun would go at the highest sun point (summer), and planned to end the beds there.
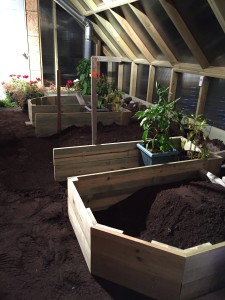
I also needed to make sure I had room to work, and that I could comfortably reach all areas in the greenhouse. The best way for me to accomplish all this and still put the maximum amount of garden space in the sun, was a finger-style bed. And as my husband would say, I can’t make anything easy, so I had to fancy-up some of the corners to match the angles and octagons I added everywhere else in the yard.
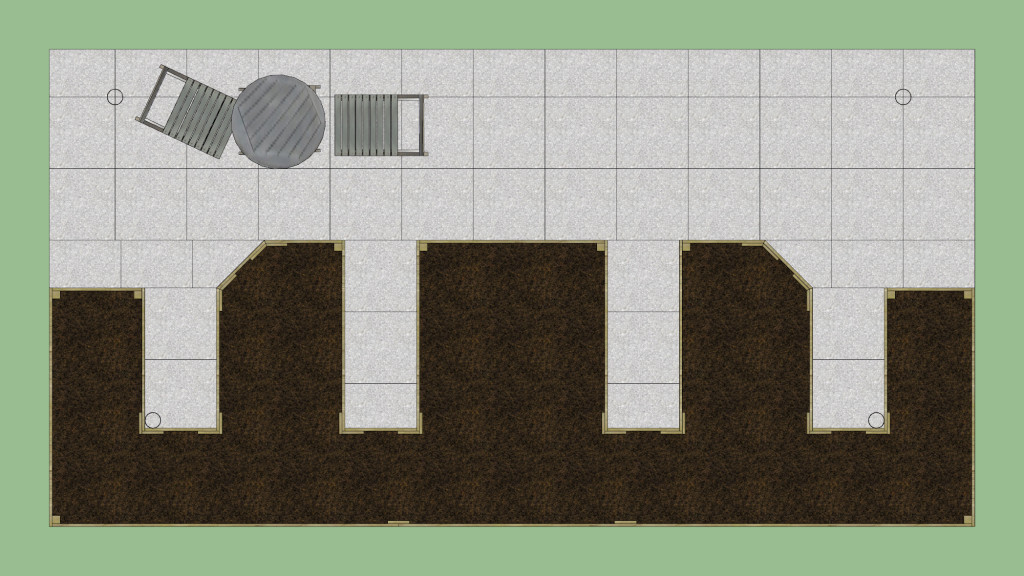
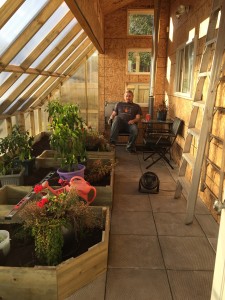
Another important piece? Leaving room for the Bistro table and chair! No matter what these were a must, so I could enjoy a relaxing sunny day in January when the wind blows at -40C (and believe me, I already have. It’s everything I imagined it would be and MORE!)
When designing the work paths between the “finger” beds, I decided on 18″. This both allowed me to work in relative comfort, and also nicely fit the sizing of a pre-cast patio block at a local landscape supplier. You may find you want the pathways wider or thinner, but make sure you don’t forget about comfort. Losing a few inches of growing space is nothing in the end if you’re cramped and can’t reach the plants.
As far as how wide to make the beds themselves, consider how far you can comfortably reach (again, comfort). For the majority of us, that is 2 feet into a raised bed from the side. That means that you should make no bed wider than 2 feet if you have one access side, or 4 feet if you can reach from either side. Once things are planted and you need to reach around, you’ll be very happy you stuck to this limit.
The last bit was how deep did I want the beds. Since lumber has some standard sizes, and I felt 6″ was possibly too shallow for holding heat and allowing lots of root for heavy feeders like broccoli, I went with 12″ (or two 6″ boards). Is 12″ a magic number? No. It’s just what I felt was easy, would hold heat, give me root space and maybe let me try a few things like carrots or daikon radish over time. Will it do all that for me? I really hope so but I guess I’ll find out! 🙂
Building:
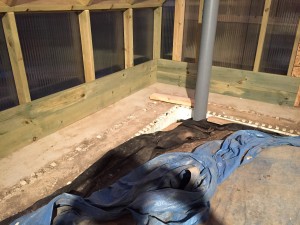
Nothing special was needed to build the beds. Just some basic carpentry skills, some 1×6 lumber, screws and the appropriate saws and drills. I did get a bit fancy, and tried to work from the inside for all connections to try and hide screws. Not needed, just me once again being fussy. I don’t expect the beds to go through a lot of stress and strain, so the thinner wood should work out fine. There is nothing against building a sturdier raised bed using 2×4 or 2×6 lumber, it’s all personal choice.
Because there is a layer of topsoil beneath the central fingers, I did drive longer stakes into the group to secure the corners of those, and prevent the beds from moving around or going off square. This made it much easier to lay the patio stones and level them afterwards. You will also see that because I chose to use thinner wood, I needed to put bracing in the corners, so there was enough to drill into.
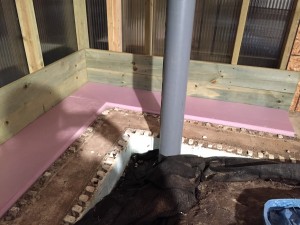
If your building codes allow you to build the heatsink as the full foundation (versus floating within a slab as I had to), you should not need to add any insulation beneath the beds. Myself, I sadly did need to add some insulation on the slab edging before adding the soil. I’m really hoping that this helps prevent the cold moving upwards on these perimeter sections, and chilling the roots/greens. Have my fingers crossed, but I’m thinking it should go ok.
Soil:
Just like I mentioned in my previous post “Growing a Winter Indoor Salad Garden – The Basics“, you cannot use your yard’s topsoil for these gardens. Your outside topsoil works great out in the yard, but there it has the benefit of the entire ecosystem, including earthworms to keep it loose and from choking the plants. Inside a house or in the enclosed greenhouse, it is going to compact and your plants will do poorly or even die.
For the first year, use a standard triple-mix (equal parts compost, topsoil or black dirt, and peat) and leave a bit of room at the top of the beds for adding in compost or amendments over time. Depending on how much you are loading into your beds, it might be wise to call a local landscape or garden center, and have them deliver a load of triple mix for you versus blending it yourself.
Other thoughts:
Don’t forget that all the space above the raised beds can also be used for growing. As long as you keep the greens away from the window itself, they should not cool too much in a winter evening, and will heat nicely as soon as the sun arrives. My first year is a trial year, and so I only have some summer flower planters hanging. But if things go well, I intend on having these spaces filled with hanging trays of delicious leafy greens.
When you are planting your beds, think about how high each plant will get. Plant shorter plants (and more cold tolerant ones in winter) closer to the windows, and taller ones further back. If you are going to use hanging baskets and trays, plant greens that don’t need much root space in these and save the deeper raised beds for your broccoli and larger rooted varieties.
And keep in mind, this was my process. Yours might be very different but I hope I’ve mentioned some useful bits. If you’d like to hear more on any portion, I’m always happy to answer questions 🙂

These raised beds are beautiful! Well done. Trying not to be jealous that they’re inside and growing! (I’ll work on that =)
Thanks! Are you planning to build a greenhouse as well?
Oliver is so handsome. What a sweet litlte face. We are trying our hand at raised beds this year. We have a bit more time until our planting season .but it can’t come fast enough. I love Spring!
Nice beds! Good looking dirt! Hope you get some nice veigges from it. Ours is coming along, lost a few sprouts though – maybe birds. Did you use mostly seeds? What are you growing?
Looking for ideas for an 8’x16′ raised-bed greenhouse. Thanks for your ideas!