

It’s February, and for many of us garden folks that means seed starting season is on the way! Some of us have even started a few depending on the Growing zone we live in. I’m in Zone 3-2b, and that means it’s time for me to plant things like leeks, some herbs, and slow-growing flowers so they’ll be ready for the short outdoor summer season.
But I have a small issue with only planting a few. I find it impossible. I always plant WAYYY too many seedlings every time I get the seeds out, which is a lot of containers, a lot of soil, a lot of space and a lot of MESS! I never worry, the extra seedlings always find homes (either sold, donated, gifted or “gorilla-planted-in-a-friend’s-garden-but-it-wasn’t-me-can’t-prove-a-thing-look!!!-a-bird”) but I’ve always envied the convenient potting tables I’ve seen in plant nurseries. So neat, so tidy, so easy to fill the pots and easier on the back.
But like most, I just don’t ave room for yet another large piece of gardening equipment, especially one I’ll only use a few times each year (oddly, I might be coming to my senses….not!). So this year I found a way to have my “potting table” without losing more storage space, at almost zero cost.
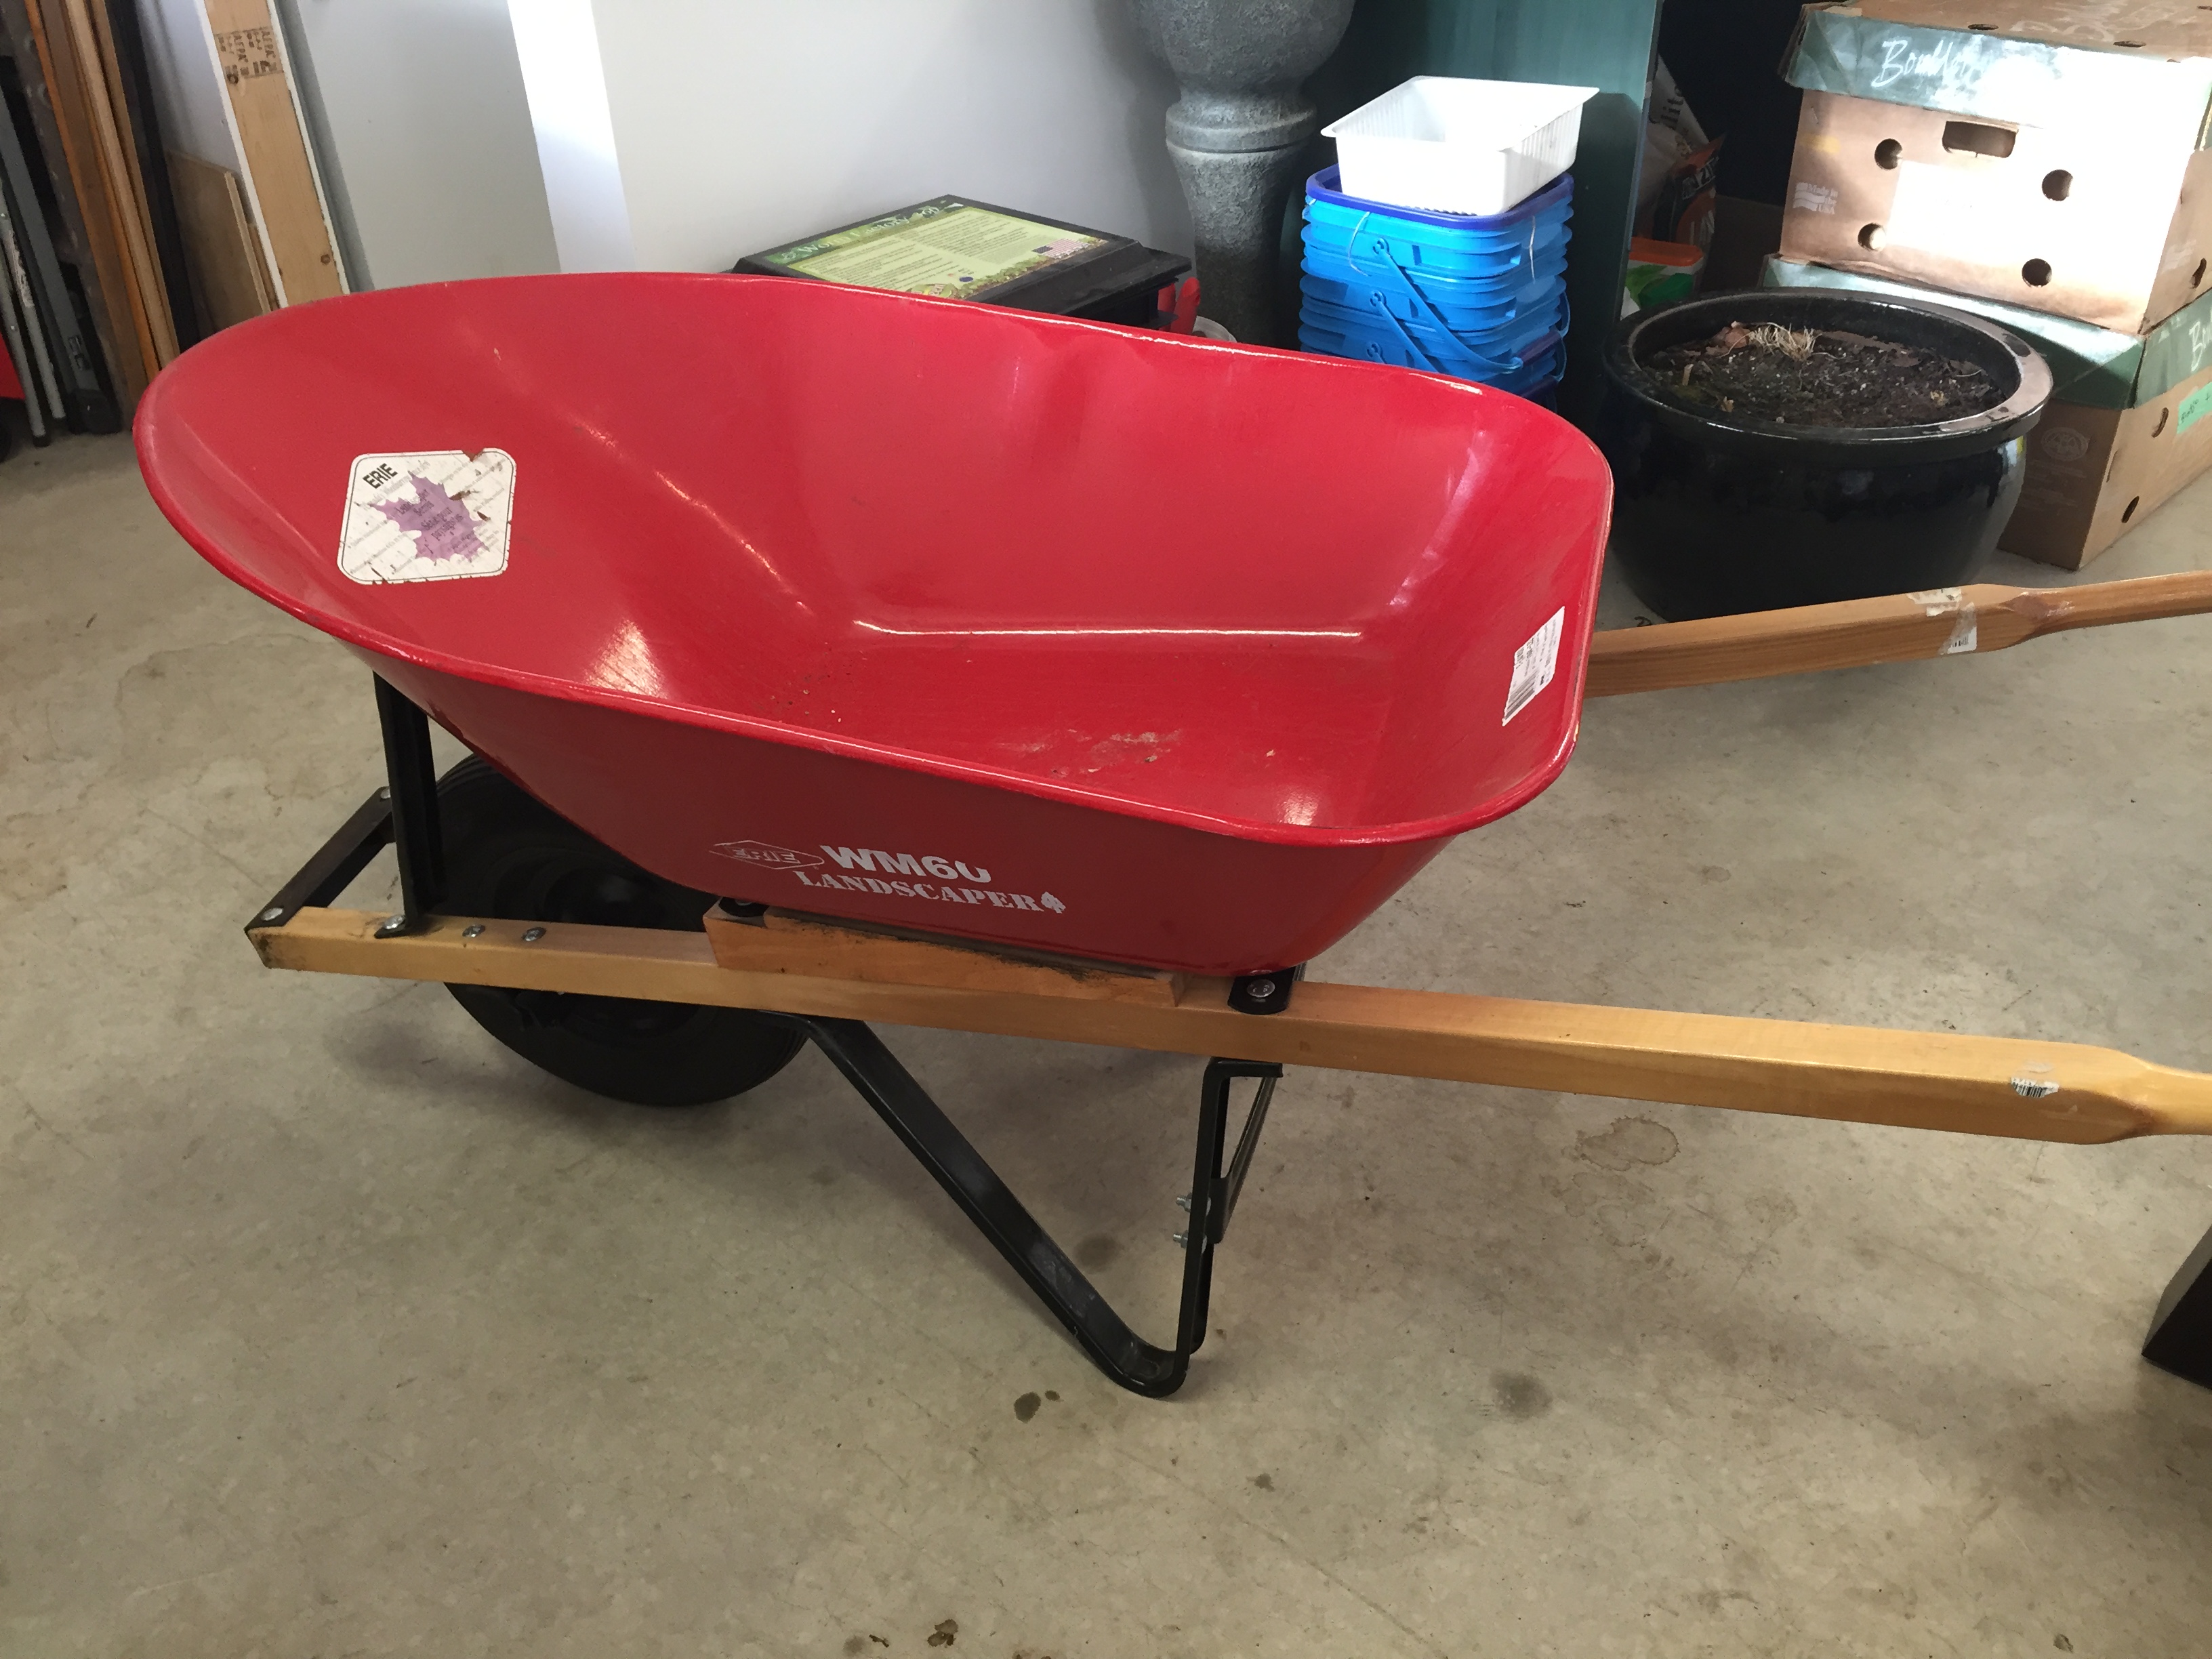
This is where the lowly wheelbarrow comes in. Many gardeners already have one of these for moving soil or compost or stones or garden ornaments around. Here are the steps I use to make my wheelbarrow multi-task for pennies.
Supplies:
- 1 Wheelbarrow (OR large, Rubbermaid-type storage tote with medium height sides)
- 1 Heavy-Duty Contractor plastic garbage bag (about 33in x 45in)
- 1 Pair of scissors
- 1-2 Bags of your preferred potting mix
- Tape (optional)
How to:
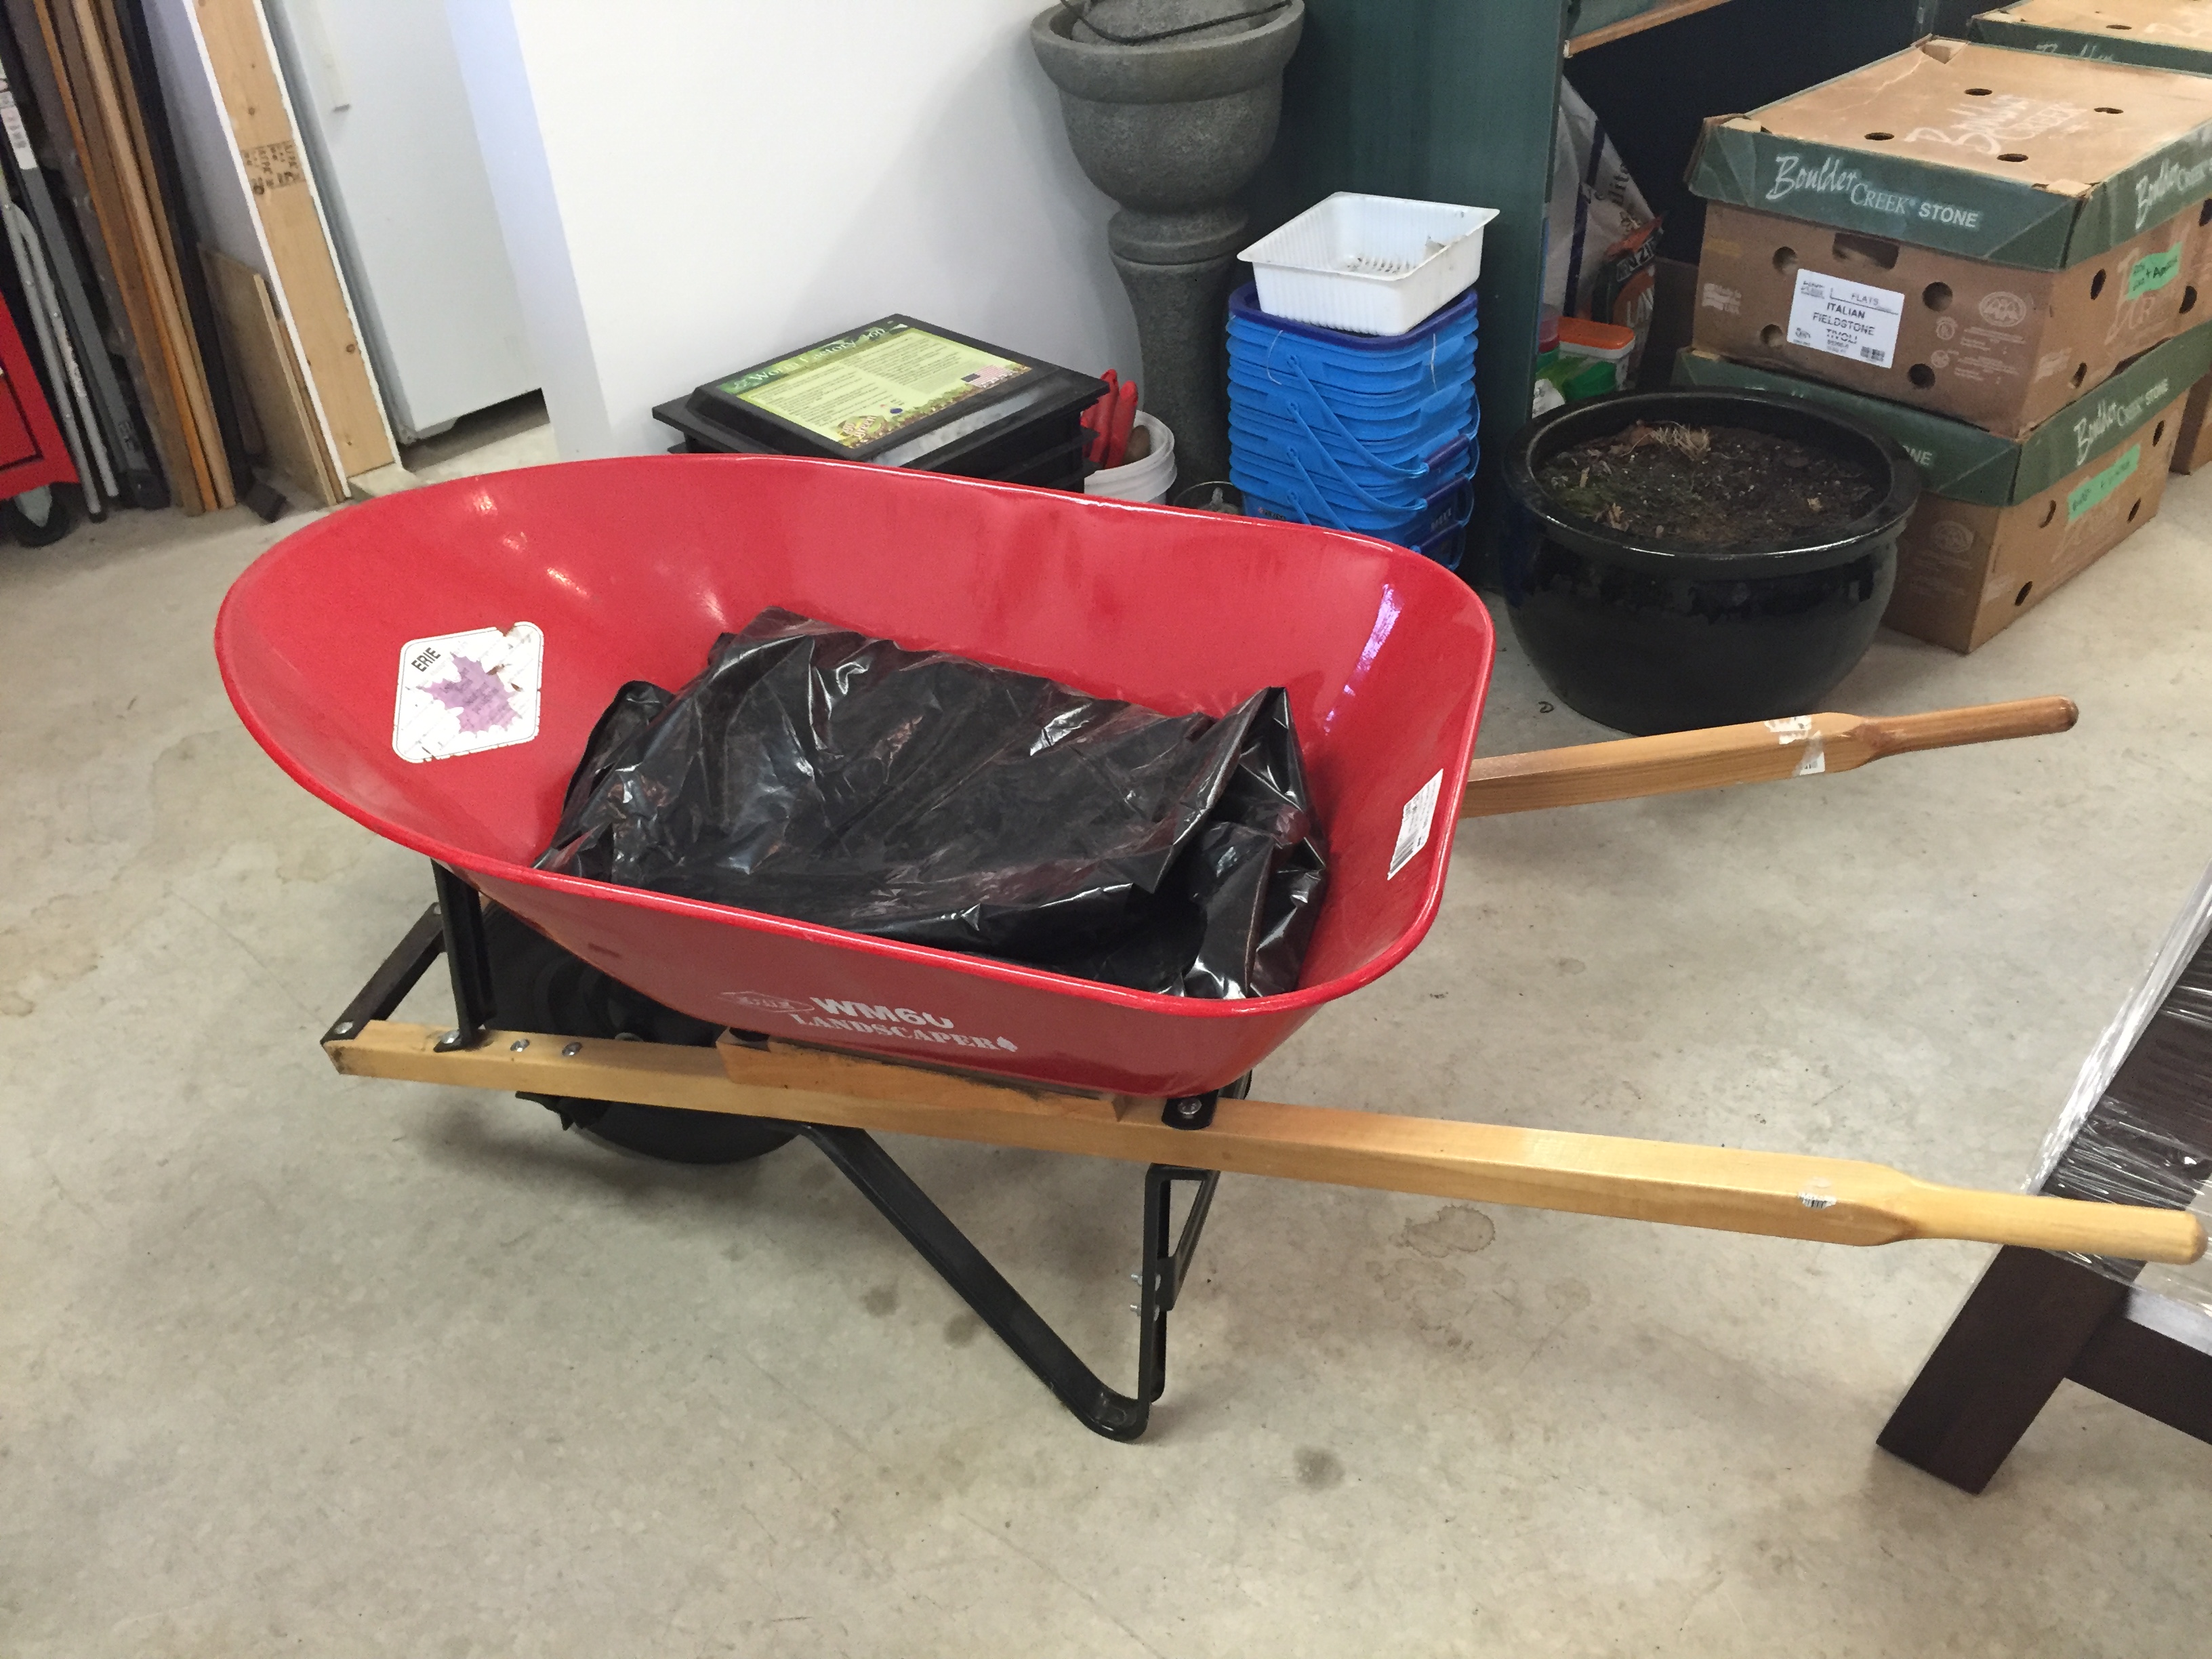
Step 1
Bring your wheelbarrow over to where you want to do your potting and seed starting. Even easier if you pile in your potting mix bags and wheel them all over together. Because this time of year it’s averaging -20C, sometimes as low as -40-45C windchill where I’m living, I’m doing my seed starting in the garage.
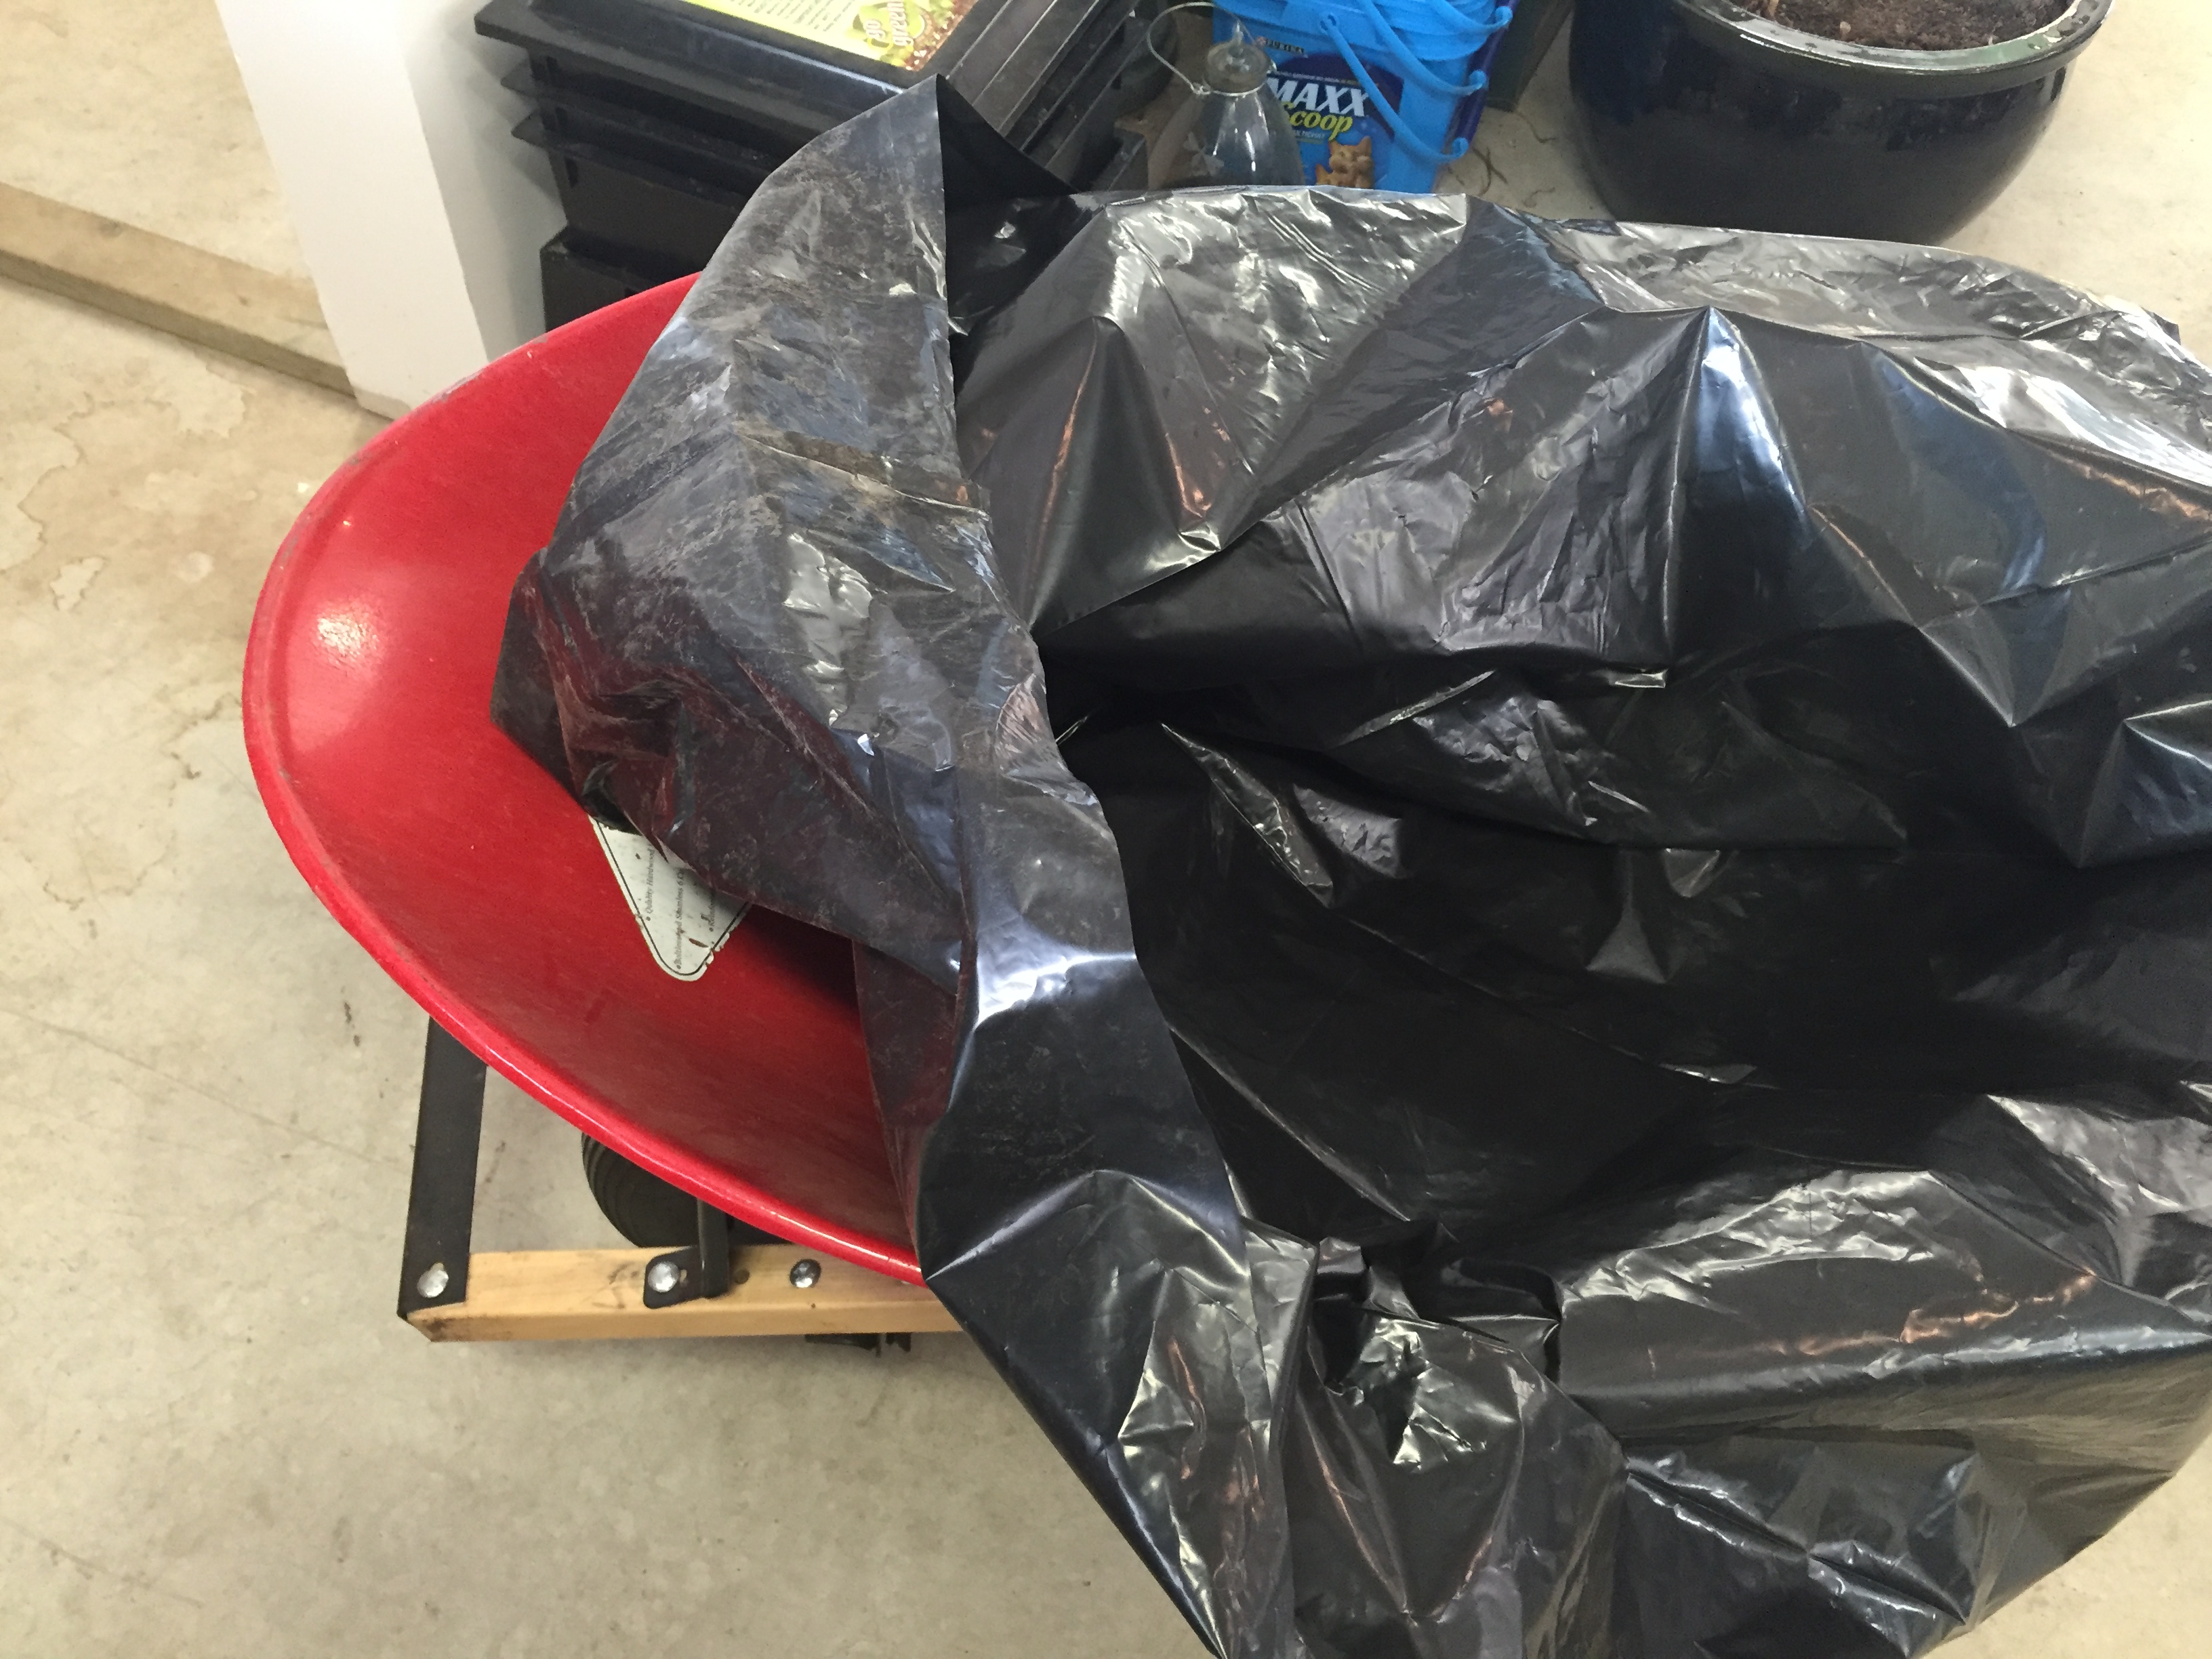
Step 2
Spread out your heavy-duty contractor garbage bag. You’re going to use the scissor to cut open ONE (only one) of the sides. Be sure to leave the bottom, and the other side uncut.

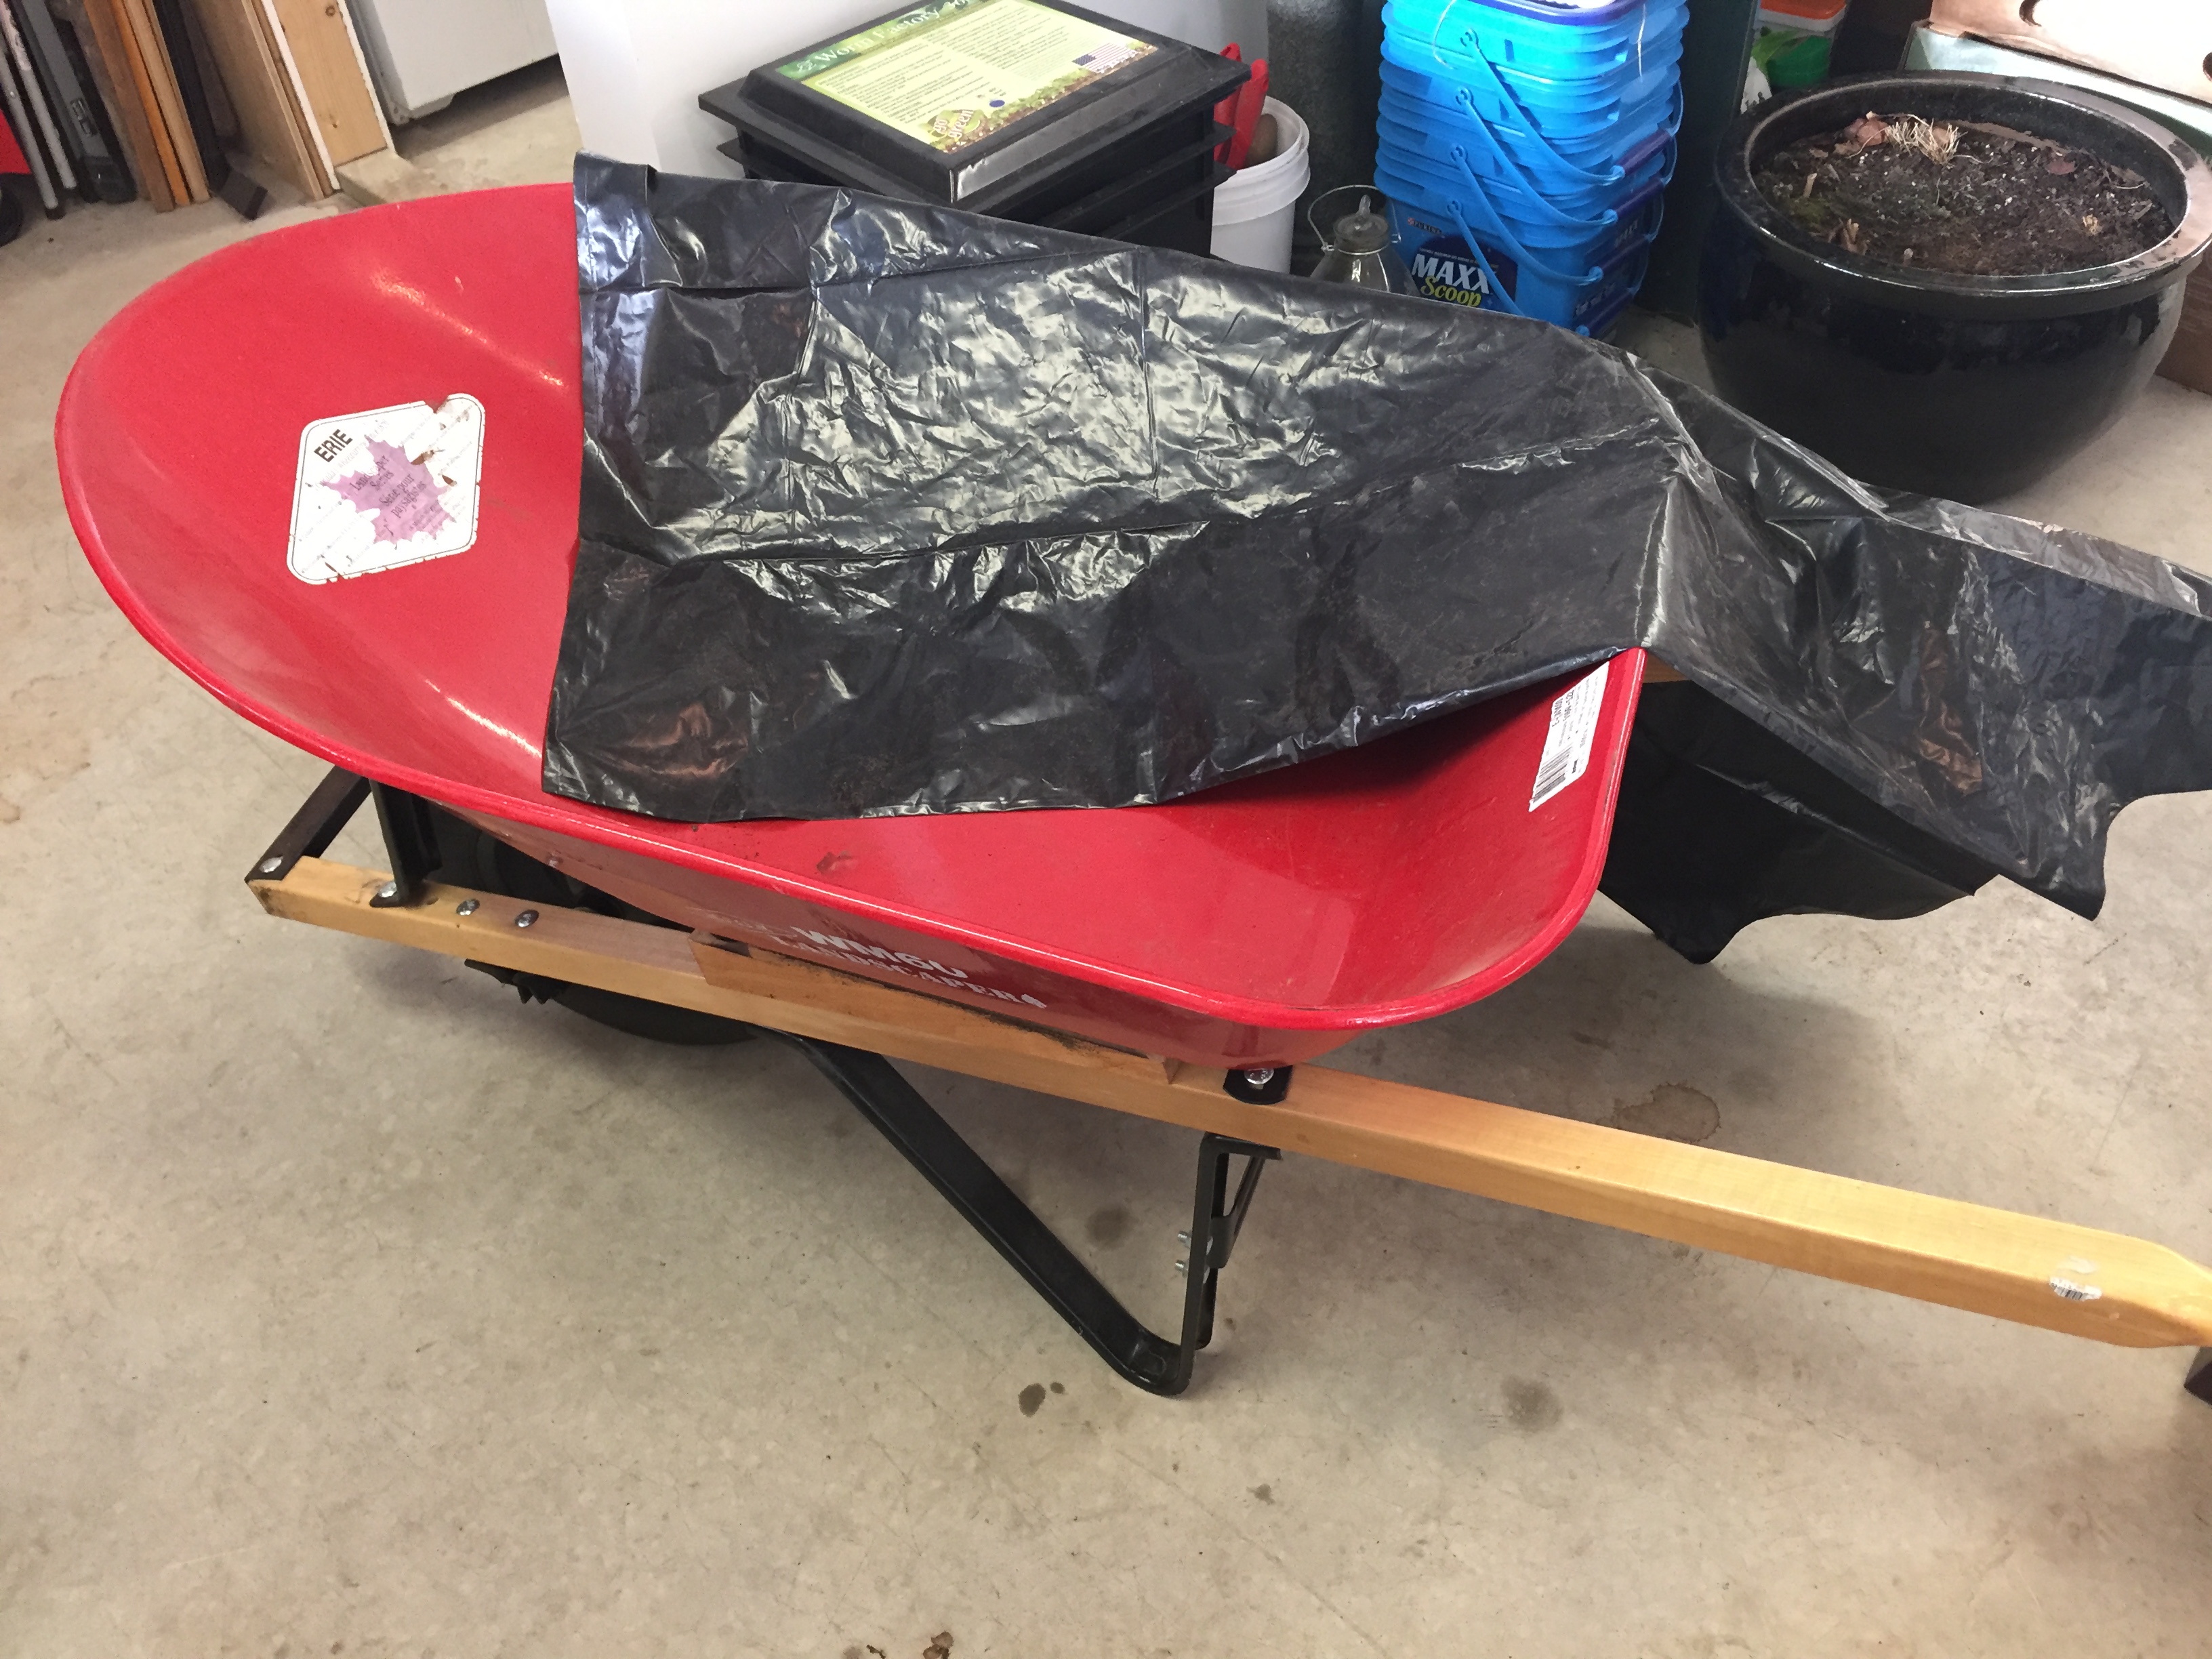
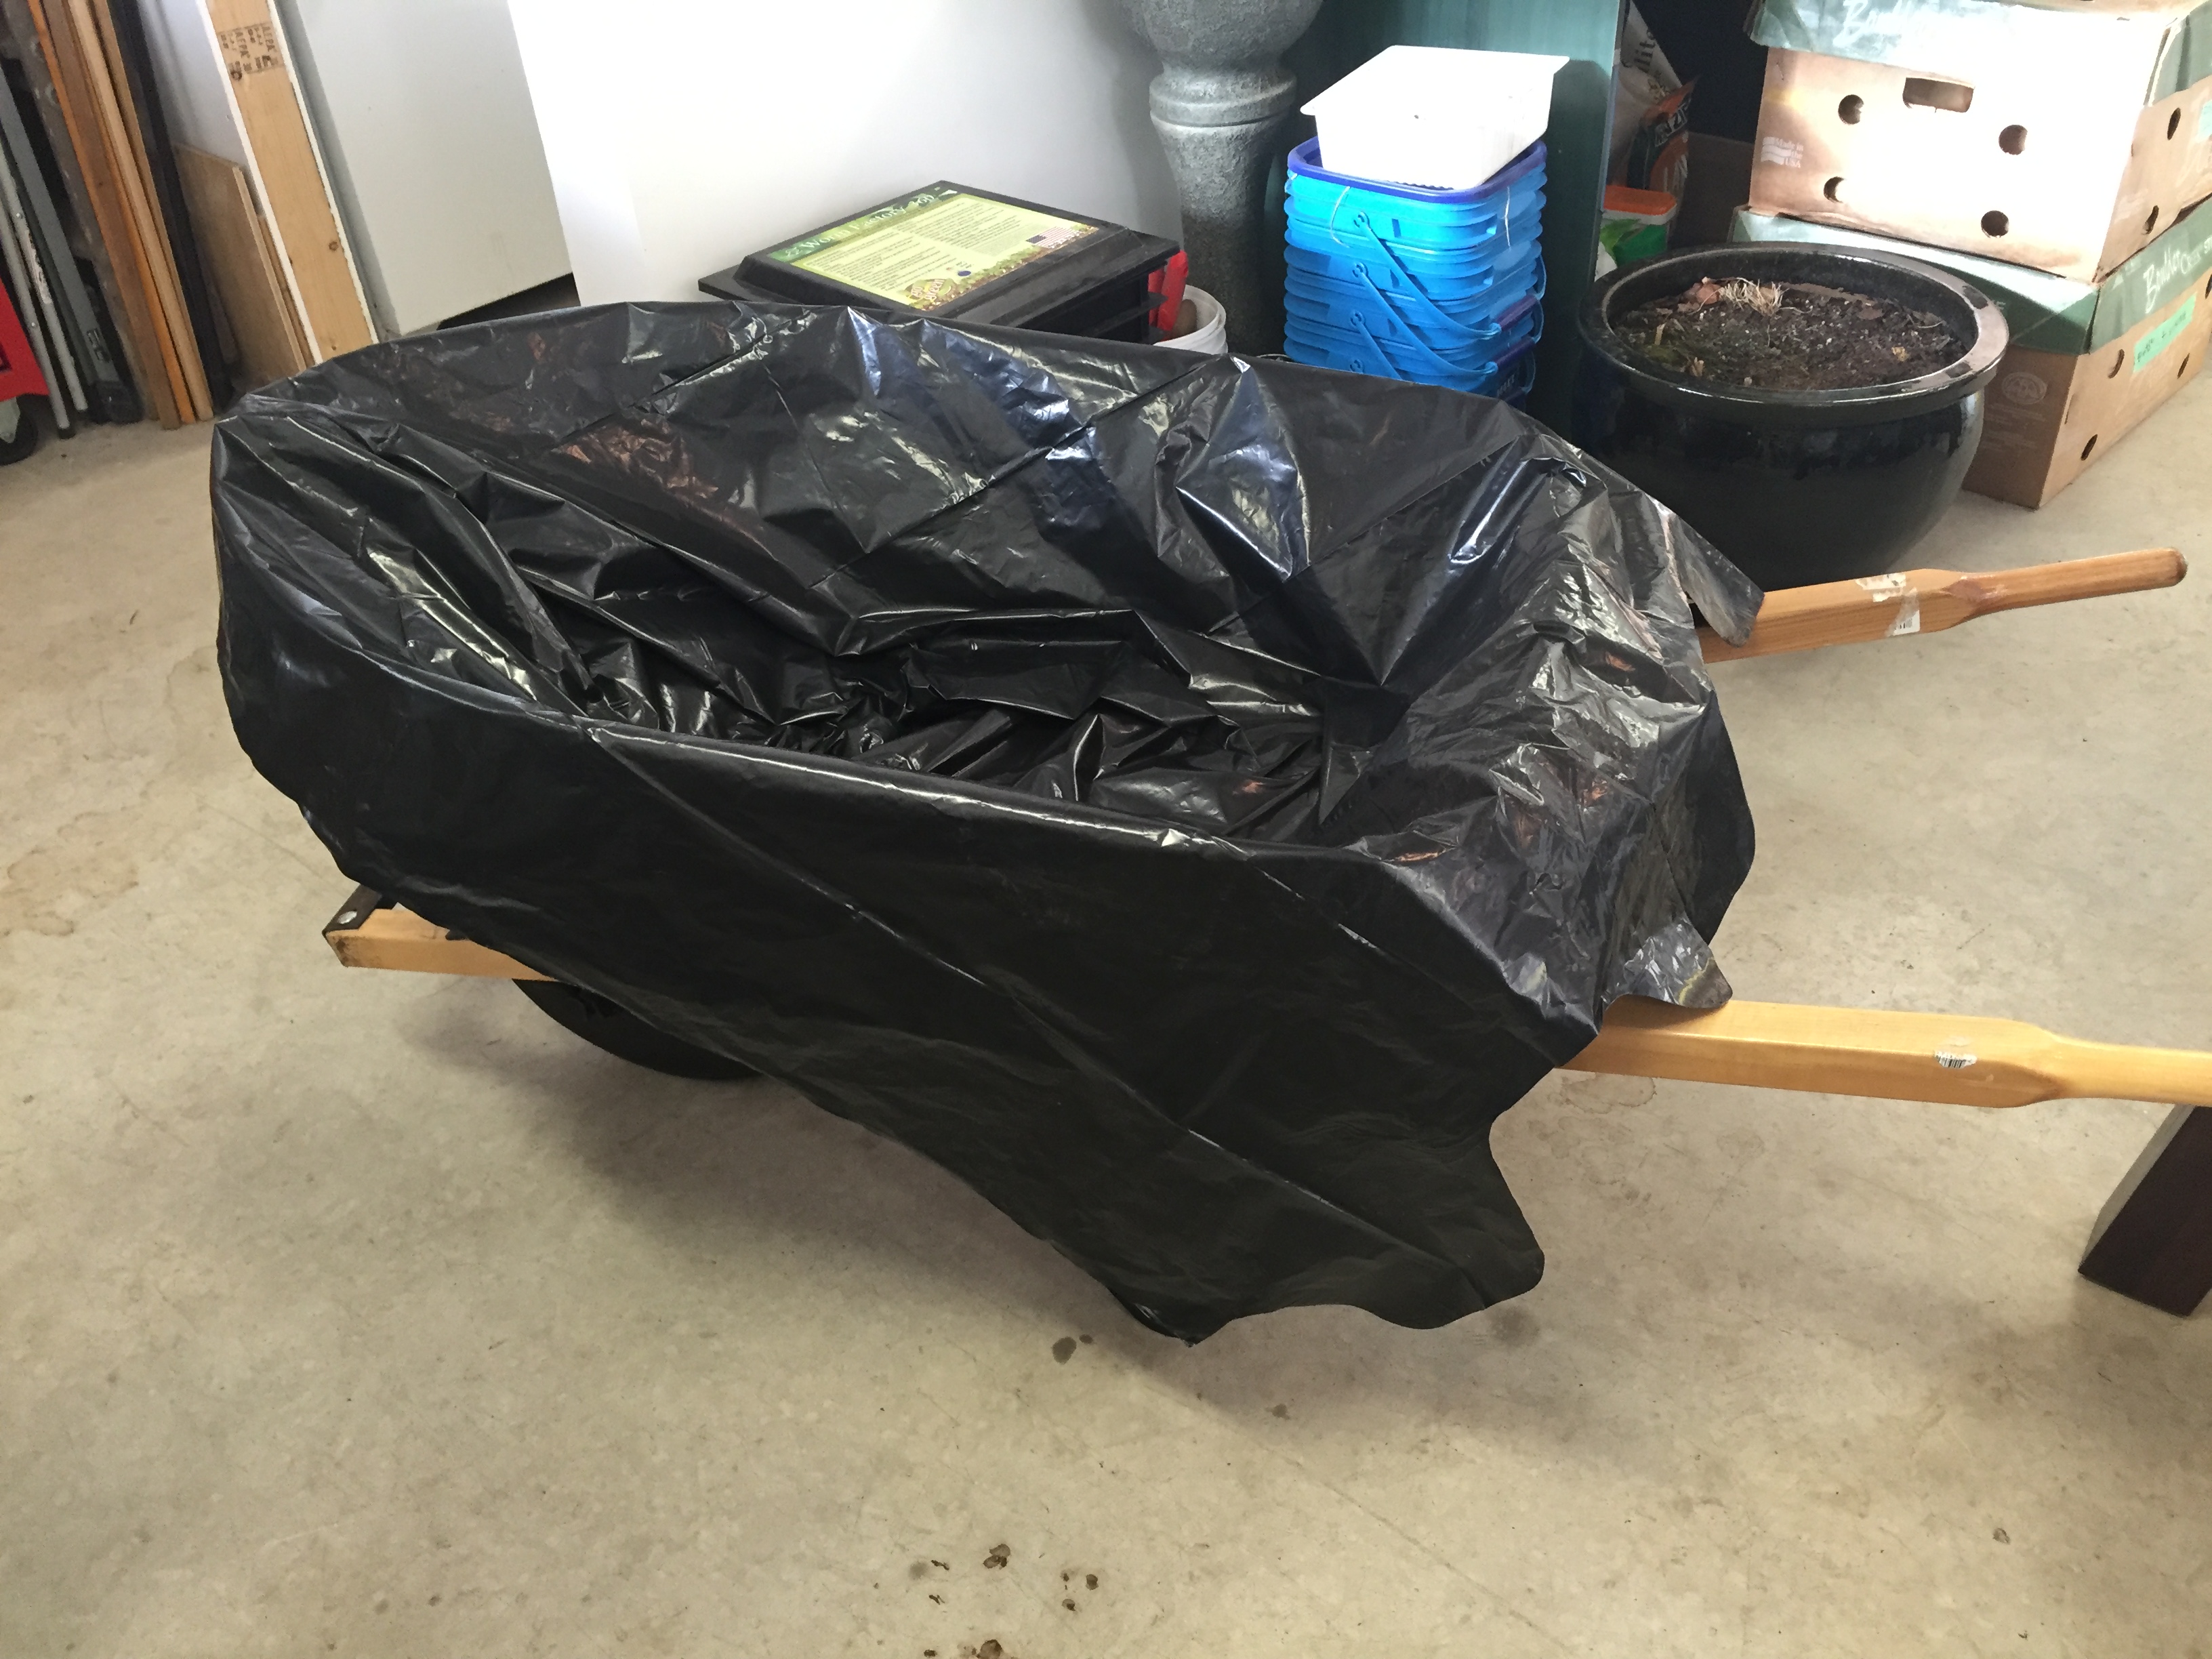
Step 3
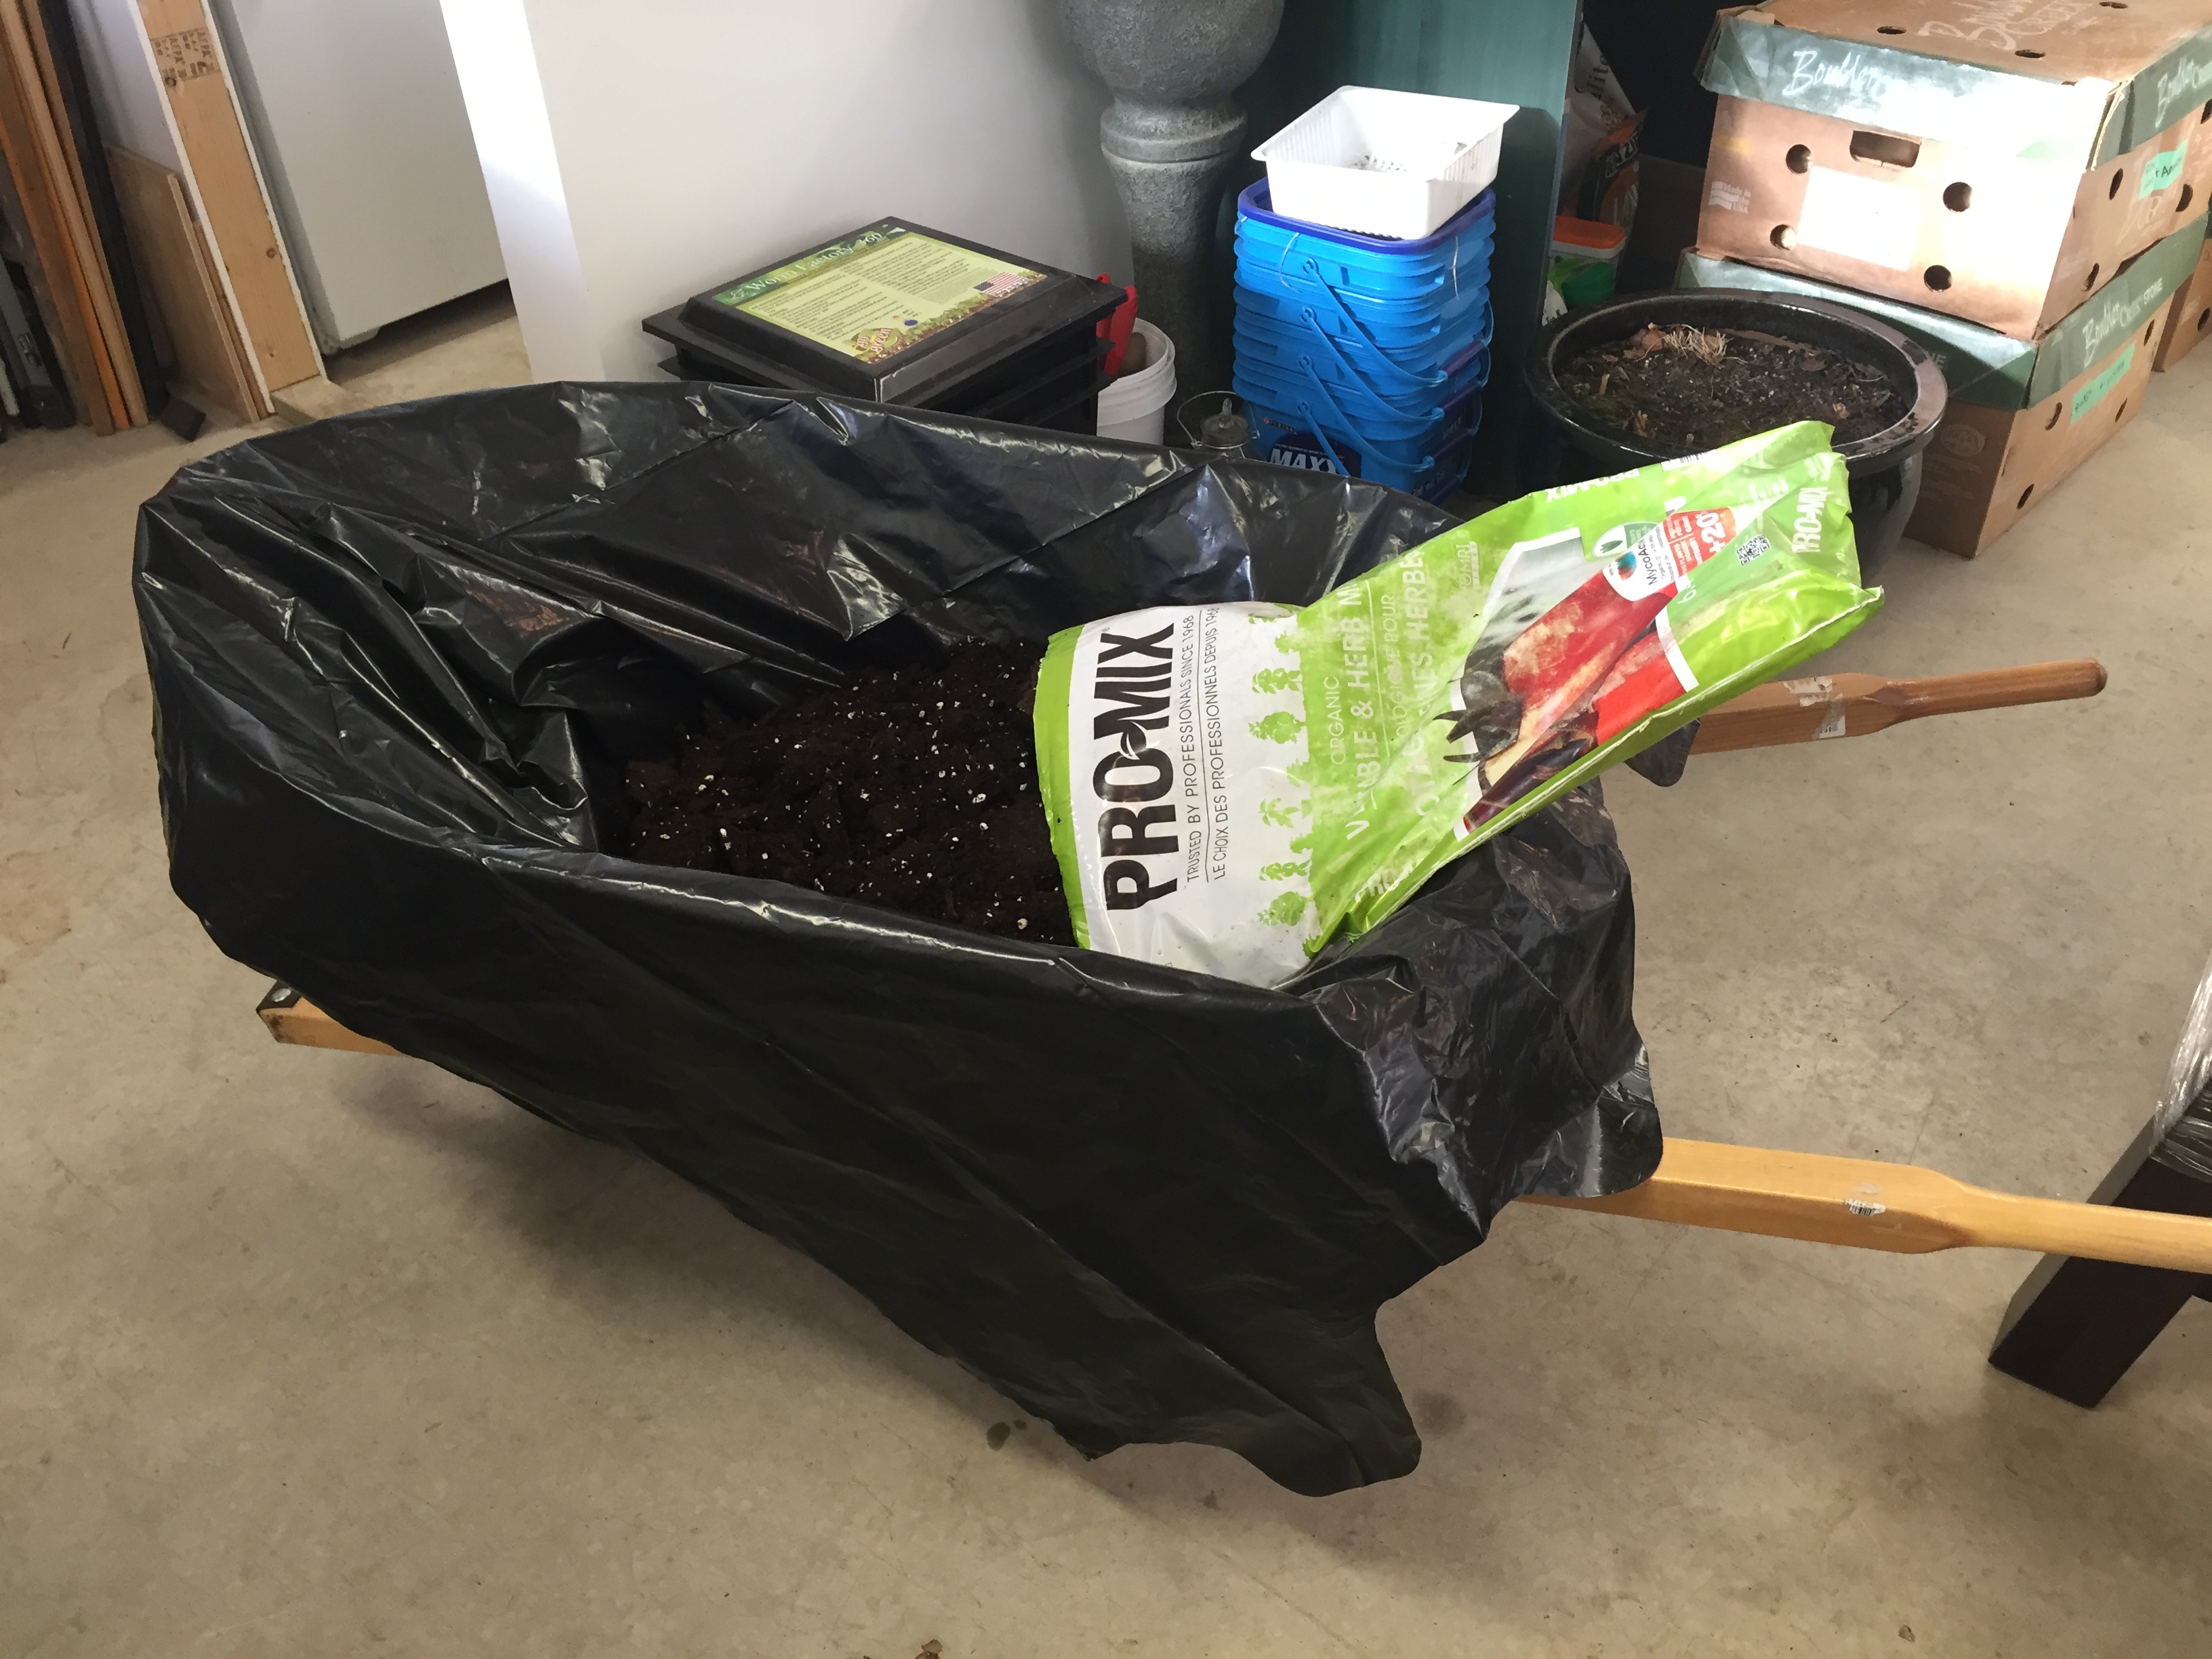
Place the uncut corner to the front of the wheelbarrow, touching the bottom. Open out the prepared “liner” so it fits perfectly over the top lip and sides. As an option, you can tape down the sides but I don’t find that’s needed. It could just be the size of the wheelbarrow fits perfectly.
Step 4
Add in your potting mix. You can add in a mixture of items as well, and easily combine them. If needed, add JUST enough water to the potting mix to give it some moisture and stop it dusting everywhere. Do NOT make it “wet and sloppy”
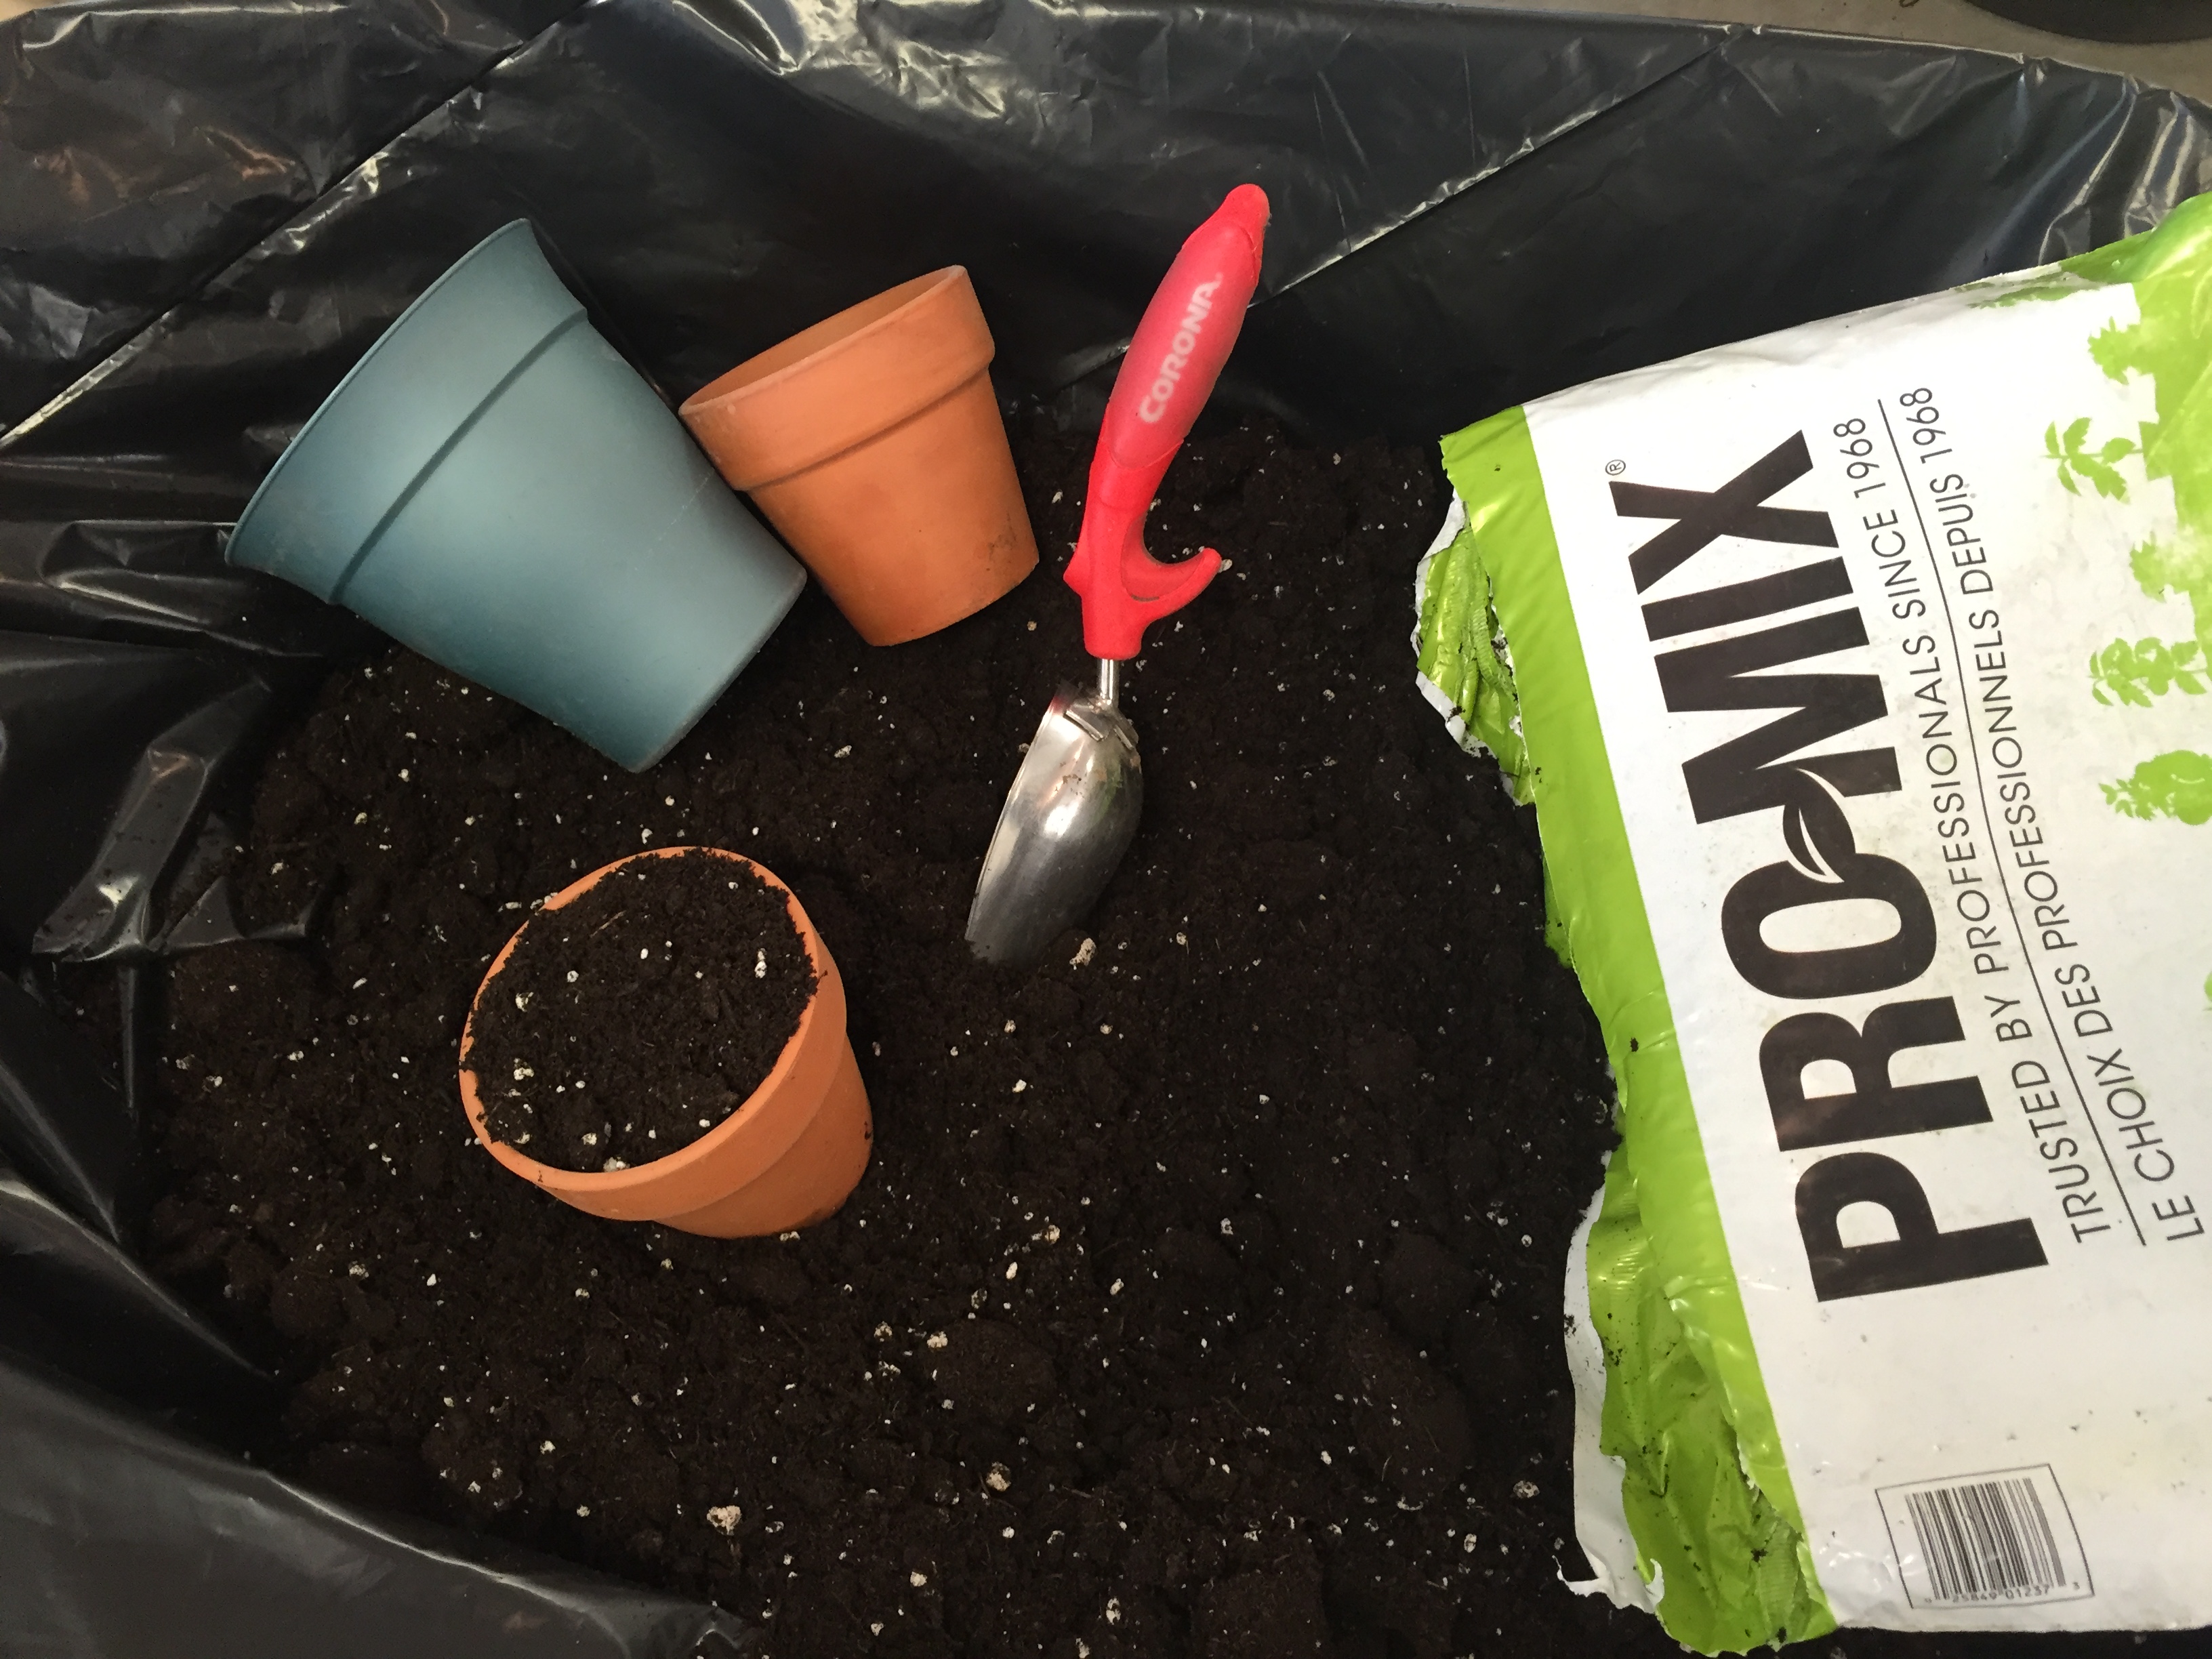
Step 5
Do your potting with ease! Move the wheelbarrow as needed while you work, rearrange your space as often as you need with EASE!
Step 6
When you are done for the day, you have a couple options. If you are still planning to do potting another day in the near future, fold the sides of the liner in, followed by the front and back ends to keep a nice clean bundle, that won’t dry out quickly. If you know you are done for a while, fold up the two sides, and use them to lift the liner and contents up and out. You can tie or tape up this “bag” of potting mix for storage, or you can pour it into another container. Easy, quick, no fuss, neat and tidy.
If you don’t have a wheelbarrow, or if you want to get more creative and spend more than the pennies for a heavy-duty plastic “liner”, you can purchase a Rubbermaid-style storage container, with medium height sides and a nice sealing lid. If the sides are too low, you will have issues with soil fluffing out. Too deep, and it will no longer be easy to work in. On their own these containers are fine on a LOW counter or across pair of chairs, and they close up nicely, but can get a bit heavy to move around.
Fancier – you can make a wooden set of legs and frame that this sits into, you can add rolling casters, and you can even make that frame folding for storage. But of course, if you already have the wheelbarrow, you’re now adding more items you need to store. I like having one item, that does dual-duty.
Do you have other plans or ideas for low cost, easy, inexpensive potting tables? Share them in comments! Everyone likes options 🙂
Great! I love this idea. Much better than my 5 gallon bucket and the countless refills needed.
hahaha! “gorilla-planted-in-a-friend’s-garden-but-it-wasn’t-me-can’t-prove-a-thing-look!!!-a-bird”
I’m testing your comments for my blog review and crossing my fingers that I don’t get a notification that you’re moderating comments!